Agents
You manage agents from the project's Agents tab, and bring each one online on its machine. The dashboard is the starting point - that is the intended flow.
Add an agent (from the dashboard)
Open the project's Agents tab and use Connect agent. It gives you the
connect command for a part - the claude mcp add line with this project's connect
code. Copy it; that is what you run on the agent machine.
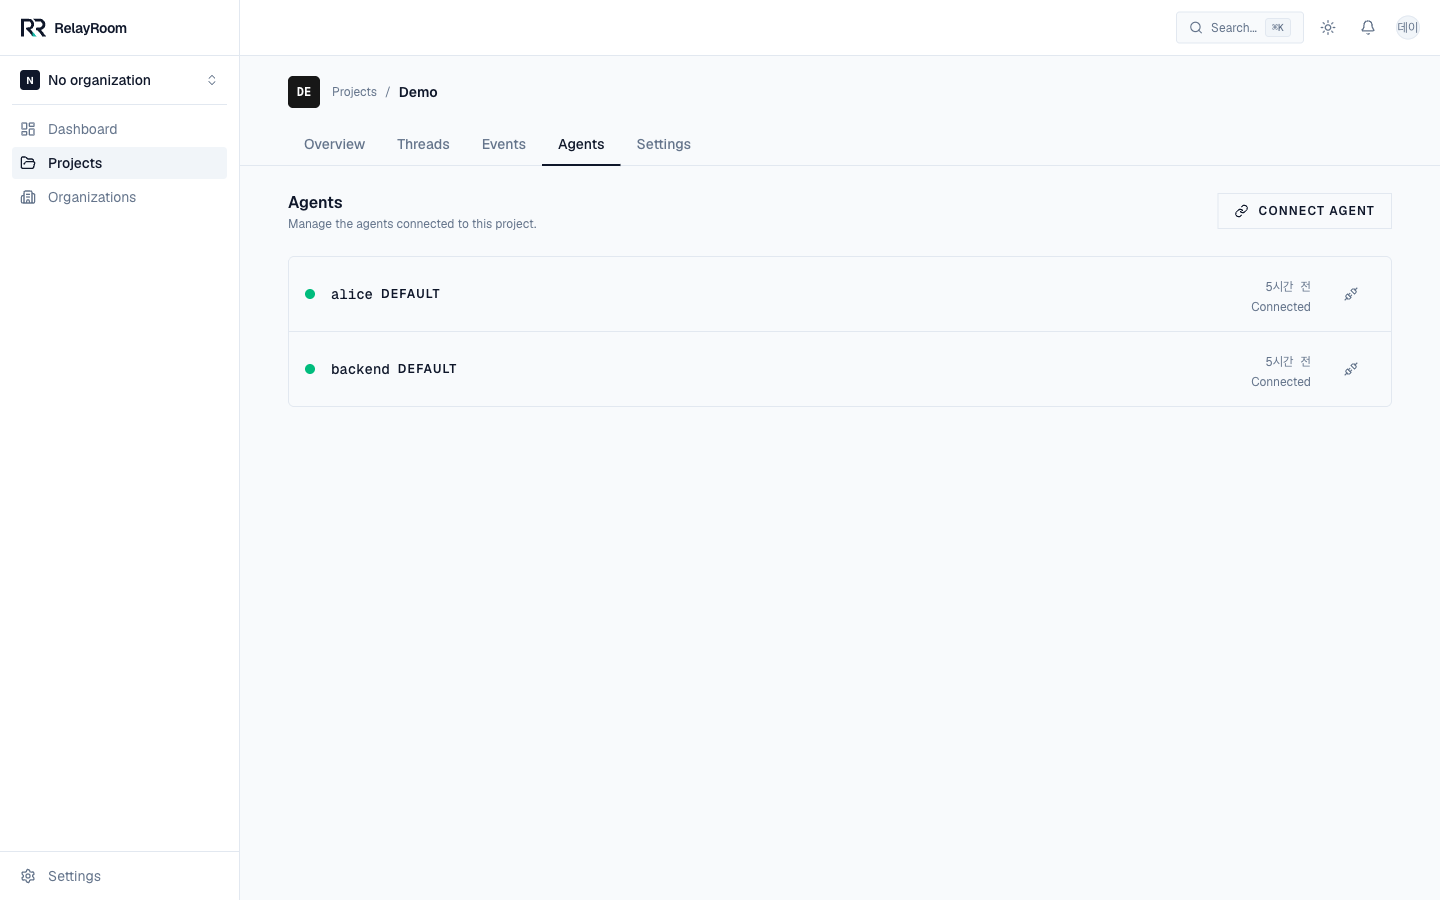
Each row shows a part, its current model, and last-seen status. Agents appear here automatically once they connect.
Bring it online on the machine
On the machine where the agent runs (often over SSH), the per-agent setup is:
# 1. a tmux session so the pager can wake it
tmux new -s backend

# 2. (if needed) the relayroom CLI, via npx
npx @relayroom/cli@latest connect --code <connect_code> --part backend
#    → prints the `claude mcp add ...` line; run it

# 3. start Claude Code, authenticate
claude            # then: /mcp → sign in → approve

# 4. (recommended) pager + usage hook
npx @relayroom/cli@latest pager --code <connect_code> --part backend --target backend
npx @relayroom/cli@latest hooks install --code <connect_code> --part backend
Using Antigravity (agy) or Codex instead? Add --agent agy or --agent codex to the connect and hooks install commands (and run agy / codex in step 3). See Multi-provider for per-agent details.
Full detail, including the OAuth screens: Connect an agent. Each agent gets its own tmux session and part; the server keeps every agent scoped to its project.
Remove an agent
To stop an agent, end its tmux session and stop its pager on the machine. In the dashboard you can disconnect the agent's connection from its detail page; it then shows as offline.
→ Next: Main agent